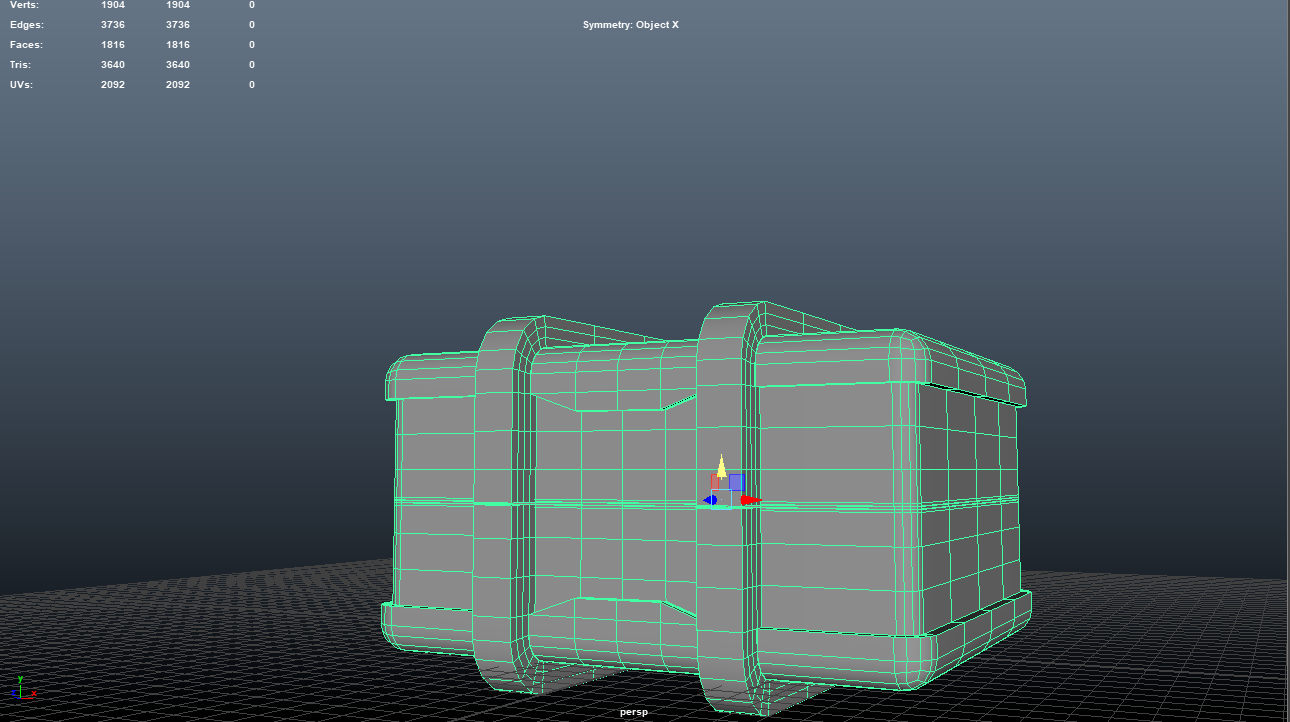
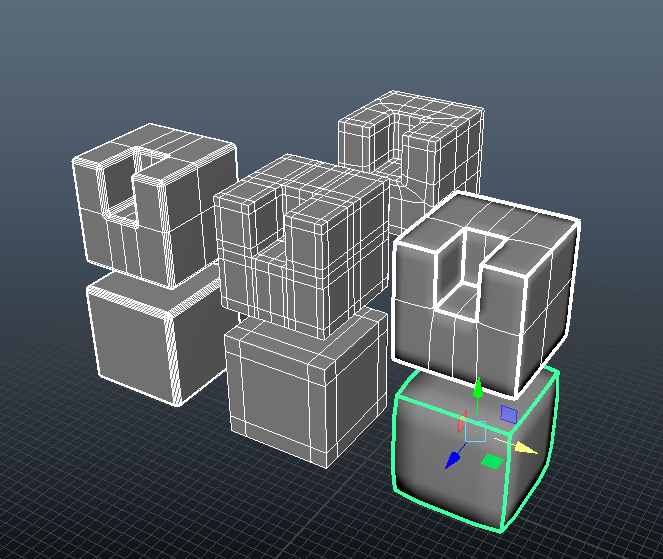
This lecture composed of the building blocks of topology in Maya. I've been using the program for a few years now so some of this intro segment was a crash refresher course on Box modeling fundamentals. That being said, I had no idea about a few of the little tricks Nick showed us, specifically the way you could 'flatten' a model by altering whether or not it retained the component spacing while moved or the Special Duplicate tool which creates an exponential change over a series of duplicated objects. Something like this I'd have duplicated and changed by hand over and over getting an inconsistent result previously so it's very cool to learn!
 |
| Scorpion tail go 'Brr' |
With the following example I got a better understanding of how smooth mesh preview can be used to create more organic shapes out of hard surfaces, the transfer attributes tool was also something I had no idea existed and it seems like it could end up being a powerful tool
 |
| It's power has multiplied |
Learning about the Soft Mod Fall Off seems like a great way to get more organic modeling in maya, something I struggled with in the past. Playing around with it and the extrude tool has let me create a very rudimentary face quickly
 |
| He's a handsome gent |
The edge loop tool and mirror geometry are old friends I've used in my maya tool kit for a while. Yet I never used them to preserve the edges in a smoothed object before.
 |
| Do a kickflip! |
We then discussed the uses of beveling, fencing and creasing models and how they can be done. It was all interesting stuff but unfortunately maya crashed while doing it, so I had to start back over
 |
| CTRL S is your friend |
Following that, the paneling stuff shown seemed like it could be really fun to use for sci fi or mechanical models to give them a sleek look.
I still don't really quite understand material editing but having the HDRI reflected in the model absolutely gives it a more polished look.
We then fiddled with more advanced techniques to sort of build a car mesh (or at least the start of one.) It was pretty easy to get carried away and start getting a bit more creative with the detailing
 |
| *Mute City Intensifies* |
NURBs definitely feel like a deceptively simple tool, it's really amazing what sort of unique shapes you can get from messing with them and some deformers
Putting it all together (after messing with Nick's initial model) ended up with this fella. I decided to name him Zipper (You can see the other robots beside him for comparison)
 |
| He's shaped like a friend |