Monday, September 27, 2021

3D Art Week 05 - The Crate Part 1


A mysterious crate appears!

This was the initial pass of my sci fi crate project, opted for a chrome look in this first render to really accentuate the sci fi design. 


This is the low poly proxy model I came up with initially


And this is the reference I am using


Thursday, September 16, 2021

Common Art Week 03: Use Of Value And Contrast


We learned in this week a professional workflow in adding value and contrast to lineart. It was something I absolutely was wanting to learn so I think it will elevate my own art. I also experimented with adding a color layer to the values which gave me a very classic marvel look


Monday, September 13, 2021

3D Art Week 03 - Hierarchy's In Maya Intro To UE


This week we focused on organizing our Hierarchies within Maya as well as importing elements into the Unreal Engine 5. Hierarchies can be used to make simple animation without the use of a rig which can be ideal for demonstration purposes.


Unreal offers a wealth of post processing and lighting effects that can easily create dynamic shots.


Finally we started designing an abstract landscape to be later brought into and animated in unreal. 


Overall I feel that I am growing more comfortable with box modeling which has lead to me experimenting with low poly character modeling for our upcoming Rapid Prototype. (It's intentionally aping the classic playstation look)


Thursday, September 9, 2021

Common Art Week 02 - Use of Silhouettes


For this week we had to redesign a character in a new setting. I chose David from the bible to put in a Sci Fi setting

Saturday, September 4, 2021

3D Art Week 02 - Basics Of Topology

 This lecture composed of the building blocks of topology in Maya. I've been using the program for a few years now so some of this intro segment was a crash refresher course on Box modeling fundamentals. That being said, I had no idea about a few of the little tricks Nick showed us, specifically the way you could 'flatten' a model by altering whether or not it retained the component spacing while moved or the Special Duplicate tool which creates an exponential change over a series of duplicated objects. Something like this I'd have duplicated and changed by hand over and over getting an inconsistent result previously so it's very cool to learn!


Scorpion tail go 'Brr'

With the following example I got a better understanding of how smooth mesh preview can be used to create more organic shapes out of hard surfaces, the transfer attributes tool was also something I had no idea existed and it seems like it could end up being a powerful tool

It's power has multiplied

Learning about the Soft Mod Fall Off seems like a great way to get more organic modeling in maya, something I struggled with in the past. Playing around with it and the extrude tool has let me create a very rudimentary face quickly

He's a handsome gent

The edge loop tool and mirror geometry are old friends I've used in my maya tool kit for a while. Yet I never used them to preserve the edges in a smoothed object before. 


Do a kickflip!


We then discussed the uses of beveling, fencing and creasing models and how they can be done. It was all interesting stuff but unfortunately maya crashed while doing it, so I had to start back over

CTRL S is your friend

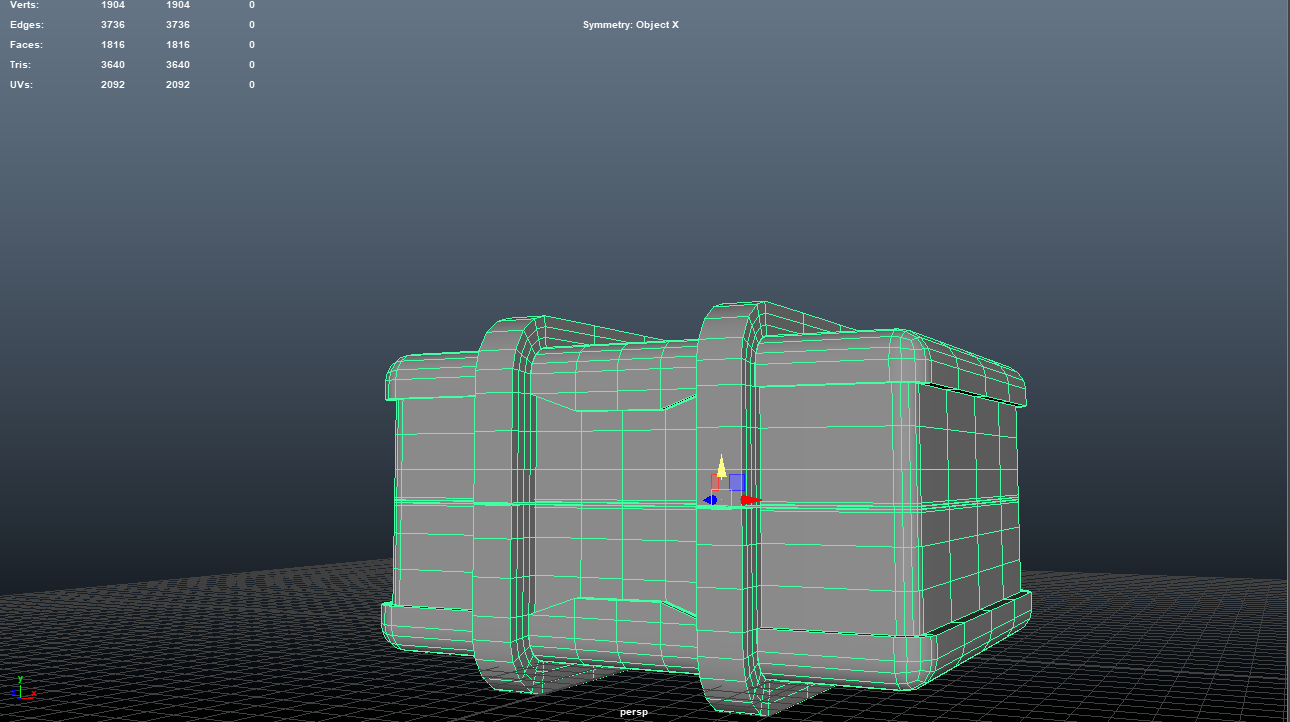
Following that, the paneling stuff shown seemed like it could be really fun to use for sci fi or mechanical models to give them a sleek look.

I still don't really quite understand material editing but having the HDRI reflected in the model absolutely gives it a more polished look.


We then fiddled with more advanced techniques to sort of build a car mesh (or at least the start of one.) It was pretty easy to get carried away and start getting a bit more creative with the detailing 
*Mute City Intensifies*

NURBs definitely feel like a deceptively simple tool, it's really amazing what sort of unique shapes you can get from messing with them and some deformers


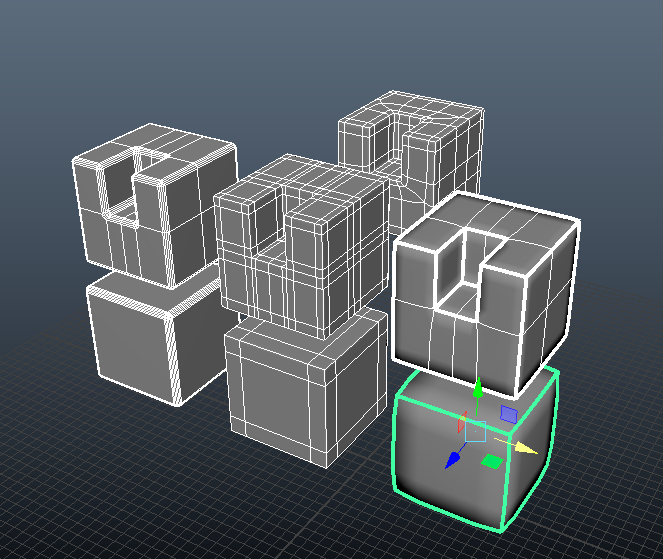
Putting it all together (after messing with Nick's initial model) ended up with this fella. I decided to name him Zipper (You can see the other robots beside him for comparison)


He's shaped like a friend


Animation Week 01 - Move Object


 The assignment was to "make an object move in maya" so I decided to be ridiculously extra with it. Kicking some rust off my animation skills. I received a ton of good notes and was urged to continue this and push it as a more finished animation.


Thursday, September 2, 2021

Common Art Week 01 - Use of Basic Shapes


 We had to utilize shape language to come up with 3 original creature designs representing that shape. You can see that I struggled a bit to get into the flow of it, the first creature being the roughest and the last being the most clean but once I started to get a better grasp on using photoshop again my workflow sped up considerably. For the creatures I didn't want to be so literal with the shape language and instead opted for a more subtle designs that inspired the same feelings. For the round character I decided to make them an elongated cylinder while focusing on giving it features of cuter more cuddly woodland critters. The square one I opted to make blocky and strong, almost like a living tank, It has more geometric designs in the tortoise shell on it's back and armored knuckles to sell the square theme. Finally, for the angular character I decided to make him a cross between a piranha and an angel fish to give it the most obvious shape and jagged features an aggressive creature might have. Overall, I feel like my comfortability with digital painting will only get better over time as I try to branch out of the tools I've relied on till now and add different techniques to my skillset. 


Common Art III Final Sprint

 For this final sprint I mostly worked with Parker to address the sliding issues with the pokemon which lead to the creation of this final a...